Pages

Thursday, February 7, 2013

Glazed Salmon with Broccoli Rice


Adam and I eat fish probably 1-2 times a week. It's something lighter than other meats and always quicks up fast. I'm always looking for new recipes to work with, because I feel like the basic salt, pepper, lemon recipe is always  good but boring. So I pinned this salmon recipe and gave it a go.

This was one of my favorite meals that I've had in a while. It was so simple and I loved the onion added into it. The Glaze is amazing. It takes no time to throw together. There are no negatives in this dish. With lent coming up, you'll need some no-meat dishes for your friday nights - I suggest adding this to your list and trying it out. (yes, we eat on paper plates. I hate doing dishes at the ened of the day.)

Glazed Salmon with Broccoli Rice (slightly adapted from Real Simple)
1/4 cup brown sugar

2 tablespoons low-sodium soy sauce
1 cup brown rice
1 head broccoli, florets only, chopped (about 2 cups)
4 pieces skinless salmon fillet (1 1/4 pounds total)
1 large red onion, cut into 1/4-inch-thick wedges
kosher salt and black pepper

Heat broiler. In a small bowl, combine the sugar and soy sauce. Set aside.


Cook the rice according to the package directions. Steam broccoli.

Meanwhile, place the salmon and onion on a rimmed baking sheet. Season with ½ teaspoon salt and ¼ teaspoon pepper.

Broil until the salmon is opaque throughout, 8 to 10 minutes, spooning half the soy sauce glaze over the fish during the last 2 minutes of cooking.

Plate your rice and broccoli, and serve the salmon and onion on top with the remaining glaze.

Monday, February 4, 2013

Glazed Donut Muffins


I'm not sure it gets any better than donuts. I love chocolate, cake, candy, ice cream - any sweet food under the sun! But donuts are where it's at. If I drive by a DD it takes everything in me to not stop and get 2 a donuts. Naturally I was drawn to this recipe.

I baked them up and they sit in my freezer until I pop one out. I usually try to take slivers at a time to make it last half the day

I went with the double dip method on the glaze and next time I would even triple dip, because I had enough icing left over. I would cook them at the 15 minute mark too. Last time I did 17 and I just find the very bottom a little too done for me, but overall these are a keeper!

Glazed Donut Muffins (from My Baking Addiction) - makes 12
 1/4 cup butter

1/4 cup vegetable oil
1/2 cup granulated sugar
1/3 cup brown sugar
2 large eggs
1 1/2 teaspoons baking powder
1/4 teaspoon baking soda
3/4 to 1 ¼ teaspoons ground nutmeg, to taste (I used ¾)
1 teaspoon cinnamon
3/4 teaspoon salt
1 teaspoon vanilla extract
2 2/3 cups all-purpose flour
1 cup milk

Glaze
3 tablespoons butter; melted

1 cup confectioners’ sugar; sifted
3/4 teaspoon vanilla
2 tablespoons hot water


Preheat the oven to 425°F. Lightly grease a standard muffin tin. Or line with 12 paper muffin cups, and grease the cups with non-stick vegetable oil spray; this will ensure that they peel off the muffins nicely.

In a medium-sized mixing bowl, cream together the butter, vegetable oil, and sugars till smooth.

Add the eggs, beating to combine.

Stir in the baking powder, baking soda, nutmeg, cinnamon, salt, and vanilla.

Stir the flour into the butter mixture alternately with the milk, beginning and ending with the flour and making sure everything is thoroughly combined.

Spoon the batter evenly into the prepared pan, filling the cups nearly full.

Bake the muffins for 15 to 17 minutes, or until they’re a pale golden brown and a cake tester inserted into the middle of one of the center muffins comes out clean.

In a medium bowl, prepare the glaze by mixing together the melted butter, confectioners’ sugar, vanilla and water. Whisk until smooth.

When muffins have cooled slightly, dip the muffin crown into the glaze and allow the glaze to harden. At this point, you can leave them as is or go for the double dip. I glazed my muffins twice.

Serve warm, or cool on a rack and wrap airtight. Muffins will keep at room temperature for about a day or store in the freezer, individually wrapped.


Friday, February 1, 2013

Cinnamon Baked French Toast


Overnight French Toast has really made its mark on the blog world over the past 2 years or so. I've been wanting to try it, but put it on that Christmas Morning list that I told you about before. I decided to go with this Pioneer Woman version. It was sweet with a crunchy cinnamon topping, which added a lot of texture and flavor. I loved that it made a lot so we were able to eat it over a few days, but also that I did all of my work ahead of time.

I am still wanting to try a lot more recipes. There are some blueberry ones and some with no topping that look completely delicious, but I always know that I have this one up my sleeve. Have you tried an overnight breakfast dish yet? It's perfect for if you have company or if you know you will jsut want to be lazy in the morning. Hey, that's how I feel everyday!

Cinnamon Baked French Toast (from Pioneer Woman)
1 loaf French Bread - I used sourdough
8 large eggs
2 cups milk (we used skim, but Ree uses whole)
½ cup heavy whipping cream
¾ cups granulated sugar
2 tablespoons vanilla extract

Streusel Topping:
½ cup all-purpose flour
½ cup brown sugar
1 teaspoon cinnamon
¼ teaspoon salt
1/2 cup cold butter, cut into pieces

Spray a 9 x 13-inch baking pan with cooking spray. Tear French bread into chunks, or cut into cubes, and evenly place in the pan.


In a large bowl, mix together eggs, milk, cream, sugar, and vanilla extract. Pour evenly over bread. Cover pan with saran wrap and store in the refrigerator for several hours or overnight.

In a separate bowl, mix together flour, brown sugar, cinnamon, and salt. Add butter pieces and cut into the dry mixture using a fork or your hands. Combine until the mixture resembles sand with a few pea sized chunks. Cover and store mixture in the refrigerator.

When you’re ready to bake the French toast, preheat oven to 350 degrees. Remove casserole from refrigerator and sprinkle crumb mixture over the top. Bake for 45-55 minutes, or until the French toast is set and golden brown.

Serve warm with butter and maple syrup.


Thursday, January 31, 2013

Crock Pot French Onion Soup


We are still in the season of soups. January is, I think, the coldest month most places so I know that a lot of you are still dreading going outside. You're bundling up and enjoying time on the couch, by the fire, drinking tea or coffee or hot chocolate. Well, I am anyway and I'm not really North!

I found this recipe on Pinterest way back and finally gave it a try. It is the best crock pot meal that I've ever tasted. The work of caramelizing the onions before hand really pays off with the flavor. I went the route of making croutons and I didnt broil with the cheese. You'll see the way I did it below but feel free to go to the original source and see what they did. Either way you finish it off, the flavor of this soup is the same as restaurant quality - I promise!

French Onion Soup (adapted from All Recipes)
6 tablespoons butter
4 large yellow onions, sliced and separated into rings
1 tablespoon white sugar
2 cloves garlic, minced
1/2 cup cooking sherry
7 cups reduced-sodium beef broth
1 teaspoon sea salt, or to taste
1/4 teaspoon dried thyme
1 bay leaf

French Bread, cubed
Olive Oil
Onion Powder, Garlic salt, Garlic Powder, Oregano, Basil (or any seasonings you want/have)

1/2 cup shredded Swiss cheese
1/3 cup shredded Asiago cheese
1/4 cup freshly shredded Parmesan cheese
2 tablespoons shredded mozzarella cheese

Heat butter in a large, heavy pot over medium-high heat; cook and stir onions until they become translucent, about 10 minutes. Sprinkle onions with sugar; reduce heat to medium. Cook, stirring constantly, until onions are soft and browned, at least 30 minutes. Stir in garlic and cook until fragrant, about 1 minute.

Stir sherry into onion mixture and scrape bottom of pot to dissolve small bits of browned food from the pot. Transfer onions into a slow cooker and pour in beef broth. Season to taste with sea salt; stir in thyme and bay leaf. Cover cooker, set on High, and cook 4 to 6 hours. If desired, set on Low and cook 8 to 10 hours.

At any point you can make your croutons. Simply toss the bread in a large bowl with olive oil. then add your seasonings and toss again, to coat each piece. Spread on a baking sheet and bake at 375 for 4 minutes or so, turning half way through.

When soup is done, ladle into bowls, then add croutons and sprinkle your cheese mixture on top. Let sit for a minute or 2 so that the cheese can melt from the heat of your soup.

Wednesday, January 30, 2013

Cream Cheese Danish


Any kind of cheese is fine by me. Add it to something sweet and it's even better. I remember eating entenmanns cheese danish when I was younger. It was a treat and I really loved it. Soemtimes when I pass it in the store I am so tempted to purchase it - but being the only sweet eating in my house, I bring myself back to the reality that I would gain 5 pounds if I put it in my cart. Come on Remy, grow up and eat lots of good stuff with Mommy!!

This past year I really wanted to try out some recipes to become traditional holiday foods. So this was on my Christmas morning list. Surprisingly, Adam liked it! He is not a sweet eater at all, as I've mentioned before, so I was loving that he enjoyed it. I made it the night before but it was easy enough that I should have made it that morning.

Next time I would love to try this individual cheese danish recipe. They look so yummy!

Cream Cheese Danish (from The Adventures of Kitchen Girl)
2 cans ready to use refrigerated crescent rolls
2 8-ounce packages cream cheese
1 cup sugar
1 teaspoon vanilla extract
1 egg
1 egg white

Glaze:
1/2 cup powdered sugar
2 Tablespoons milk
1/2 teaspoon vanilla extract

Preheat oven to 350 degrees and grease a 13X9-inch baking pan.

Lay a pack of crescent rolls in the pan and pinch the openings together.

Beat the cream cheese, sugar, vanilla, and egg together until smooth. Spread the mixture over the crescent rolls evenly and then lay the second pack of crescent rolls on top of the cheese mixture and brush with egg white.

Bake for 35-45 minutes until the top is golden brown. Top with glaze after cooling for 20 minutes

Monday, January 28, 2013

BBQ Chicken Cauliflower Pizza


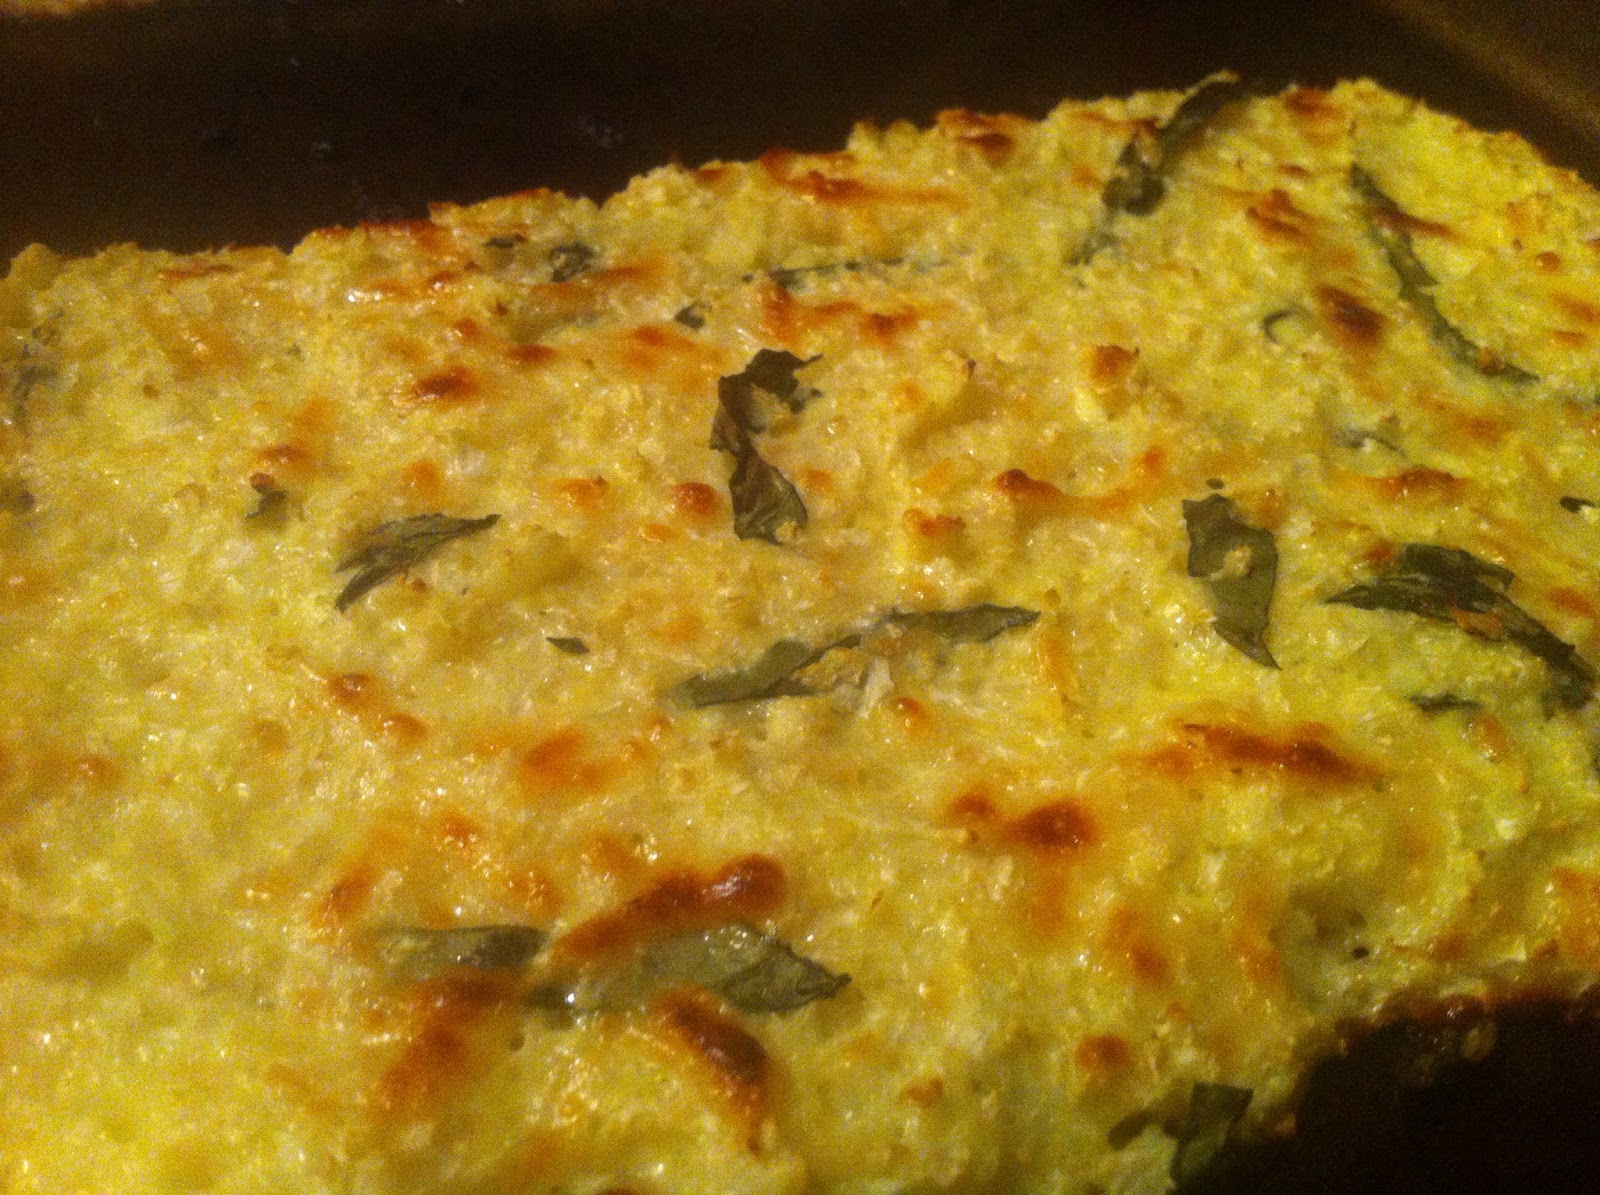
To go along with my Cauliflower Pizza Crust post, here is the first version of pizza that I made.

I sliced my pizzas into 4 rectangles each, so I think this could be a really nice appetizer or party food. You could top them all differently or all the same and it would be so easy to throw together.

BBQ Chicken Cauliflower Pizza
Cauliflower Crust
2 BBQ Chicken Breasts - see below
2 Tbsp BBQ Sauce
Mozzarella Cheese
Basil
1/2 Green Pepper, sliced thin
1/4 Red onion, sliced thin
Salt
Pepper
Garlic Powder

Preheat oven to 450 degrees (it should already be set from your crust)

Sprinkle Salt and pepper onto the baked crust. Then place a small amount of mozzarella on the crust (just enough to hold everything in place)

Top with Basil, Chicken, Onion and Pepper and put some BBQ sauce on as well (about 1 tbsp per pizza if you're making 2). Then top with more cheese and a dash of garlic powder.

Bake about 10 minutes, or until cheese is melted.

*For the Chicken breasts, I pounded them thin and seasoned with salt, pepper, garlic powder, onion powder and a little crushed red pepper (not flakes, crushed). I baked at 375 for about 15 minutes, then turned it down to 350 degrees and brushed BBQ sauce onto both sides and cooked for another 4 minutes. then I sliced them into strips and tossed with a tiny bit more sauce.

Basil Cauliflower Pizza Crust


Trying new foods can be fun and scary at the same time. And sometimes it just feels dangerous.

I don't think that I ever got a chance to share my twice baked cauliflower. I had been skeptical about this substitution food that has been swirling around pinterest like crazy, but decided to try it. I am really not a cauliflower fan, but everyone proclaimed that it didn't taste like cauliflower, although it didn't taste like potatoes either. So I didn't really know what to expect. I didn't want to surprise Adam with this dish that looked like mashed potatoes but didn't taste like it, so I warned him beforehand that we were going on a flavor adventure. Anyway, we both ended up really enjoying it. With bacon and cheese how could you not??

So, I decided to give this cauliflower pizza crust a try. I have to say, it was really good. It tastes like a flat bread and baked up really quickly. I will definitely use this again in the future. I made two small crusts instead of 4, like the original recipe calls for.

Keep in mind that cauliflower is used to make recipes low carb and not necessarily low fat or low cal.

Basil Cauliflower Pizza Crust (from Fat Girl Trapped in a Skinny Body)
2 eggs
2 cups mozzarella cheese
2 cups riced cauliflower (grate the cauliflower on a cheese grater)
2 garlic cloves, minced
1/4 cup fresh julienned basil

Preheat your oven to 450 degrees and spray a baking sheet with nonstick spray.

Combine all of the ingredients in a bowl. Divide into 1, 2, or 4 portions and lay out on your baking sheet.

Bake for 15 minutes.

Remove and top however you'd like, then place in the oven until the cheese melts.

Soft Pretzels


I don't think that I know anyone who doesn't like a soft pretzel. They're warm, soft, sweet and salty and you dip them into condiments. Like cheese and mustard. Yum.

They are also surprisingly easy to make! I usually make bite sized ones but I tried a new recipe and made regular ole pretzels this time. They were a hit and I will continue to make these. You can easily make these bite sized nuggets instead of full sized as well.

I also think it would be interesting to change up the toppings. How about a sesame or poppy seed pretzel? everything? cinnamon/sugar?? Go Crazy!


Soft Pretzels (from Alton Brown)
1 1/2 cups warm (110 to 115 degrees F) water
1 tablespoon sugar
2 teaspoons kosher salt
1 package active dry yeast
22 ounces all-purpose flour, approximately 4 1/2 cups
2 ounces unsalted butter, melted
Vegetable oil, for pan
10 cups water
2/3 cup baking soda
1 large egg yolk beaten with 1 tablespoon water
Pretzel salt

Combine the water, sugar and kosher salt in the bowl of a stand mixer and sprinkle the yeast on top. Allow to sit for 5 minutes or until the mixture begins to foam. Add the flour and butter and, using the dough hook attachment, mix on low speed until well combined. Change to medium speed and knead until the dough is smooth and pulls away from the side of the bowl, approximately 4 to 5 minutes. Remove the dough from the bowl, clean the bowl and then oil it well with vegetable oil. Return the dough to the bowl, cover with plastic wrap and sit in a warm place for approximately 50 to 55 minutes or until the dough has doubled in size.
Preheat the oven to 450 degrees F. Line 2 half-sheet pans with parchment paper and lightly brush with the vegetable oil. Set aside

Bring the 10 cups of water and the baking soda to a rolling boil in an 8-quart saucepan or roasting pan.
In the meantime, turn the dough out onto a slightly oiled work surface and divide into 8 equal pieces. Roll out each piece of dough into a 24-inch rope. Make a U-shape with the rope, holding the ends of the rope, cross them over each other and press onto the bottom of the U in order to form the shape of a pretzel. Place onto the parchment-lined half sheet pan.

Place the pretzels into the boiling water, 1 by 1, for 30 seconds. Remove them from the water using a large flat spatula. Return to the half sheet pan, brush the top of each pretzel with the beaten egg yolk and water mixture and sprinkle with the pretzel salt. Bake until dark golden brown in color, approximately 12 to 14 minutes. Transfer to a cooling rack for at least 5 minutes before serving.


Sunday, January 27, 2013

What We've Been Up To

Since I was MIA for so long......

 It's been chiiiilly here! We got snow a couple different times but nothing that stuck. I've loved dressing Remy in all of her hats!
 Remy has learned to feed herself. She loves puffs and will eat them all day if you let her.
 My little Valentine!
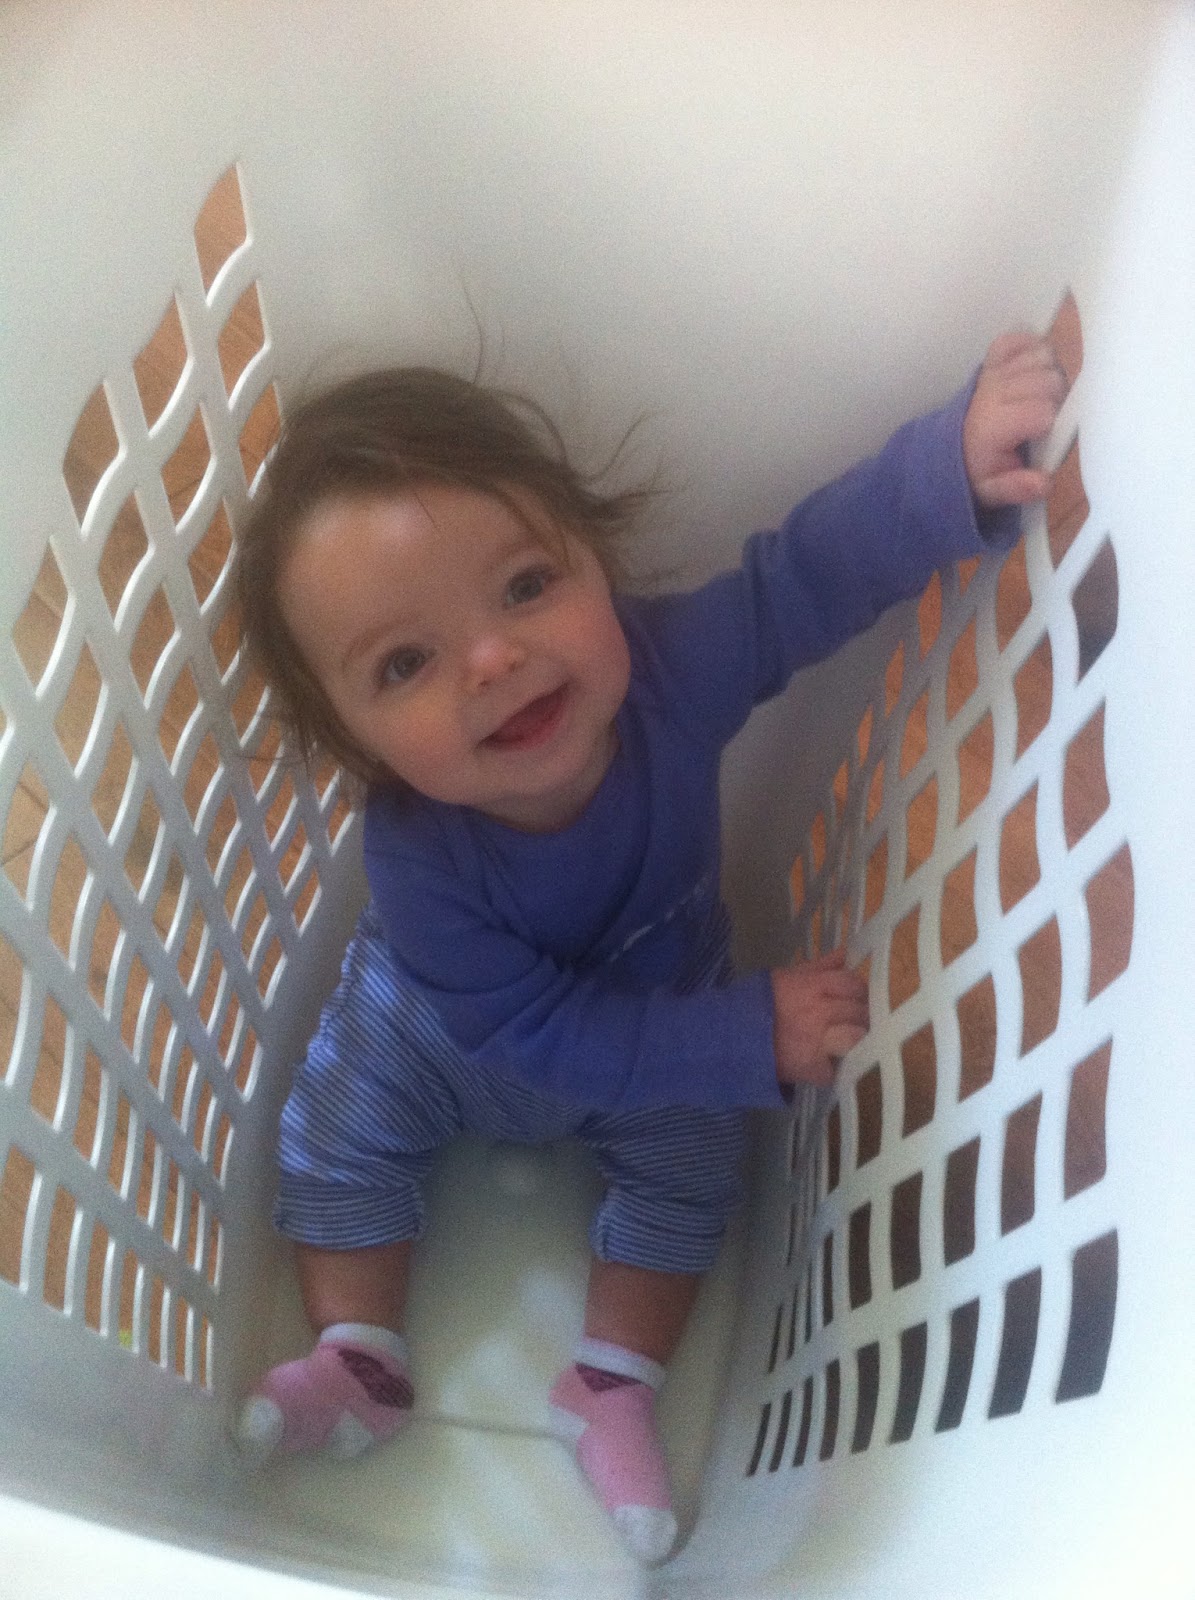
 She also helps with the laundry. Good girl!
 Remy loooves the xylophone! It's her favorite toy at school. Unfortunately, she usually gets bullied and someone tries to take it from her. Poor baby :(
 We had a few warm days which demanded a walk outside in the sunshine! Remy got a good nap in, too.
 She loves books!
 I downloaded some apps on my phone and one is a drawing one. here is Remy's first picture! Yes, I printed it out and hung it on our fridge :)

 Remy learned what a flower was for the first time. She was scared at first, but then learned it's not bad! We like when Daddy brings home flowers!
 All ready for Valentine's Day!
Remy is still not crawling yet. She does go in a circle and backwards, though!

 I'm still eating healthy! Especially during the weeks. I splurge on the weekends but have been more tame - we eat out once a week and the other nights I still make us fairly healthy dishes.
 We started having our own game night on the weekends. Pass the pigs, anyone?
 ugh, I love her!!
And I forgot to post this pic of Remy at Christmas. It's one of my favorite shots of her. she was all ready for Christmas Eve mass! It just doesn't get any prettier.

I hope everyone has been well! I should be posting more now :) Hope you had a lovely weekend!

Saturday, January 26, 2013

Keeping Active, Even in Winter

Over the holidays I took a 2 week break from my exercise routine and I didn't really watch what I ate. By January 1st I was craving healthy foods and a few good runs. I actually decided that it was time to put some strength training back into my workouts as well. So, I went to my 'fitness motivation' board on pinterest and started to put all of those workout to the test.

I moved my workouts in the gym up to 9am so that I could avoid the afternoon rush or new years resolution people, and found that I really enjoyed workign out at that time, so I have kept it up. Since I eat oatmeal for breakfast around 7:30, by 9 it is all settled and I can get a really good run in. I turn on Kelly and Michael and they are commercial free for about 15 minutes, so the time flies by. I do a 30 minute run on the treamill at 1.0 incline and 6.0 mph.

Then I grab a yoga mat and do a combination of crunches, squats, lunges, planks, arms and pushups.

My workouts are about 45 minutes long total and I haven't had a problem making it through one yet. At home I'm doing a more intense circuit of strength moves that I can do while Remy is in the jumper or something like that. She is not into letting me do a video and we need to get a tire pump before I can use the jogging stroller again. I have found that even just a little strength workout makes me feel better and motivates me to eat better so that I don't completely cancel my hard work out.

I am eating a lot more fruit. My snacks consist of:
Clementines
bananas
apples
cottage cheese
carrots and hummus/laughing cow cheese
celery & pb
oatmeal
cinnamon life cereal
marshmallows/ m&ms (hey, I still indulge each day!)
mini tootsie rolls
green tea
coffee
pretzels
cereal

For breakfast my go tos are:
oatmeal (plain and not from a packet)
greek yogurt
1/2 wheat wrap (40 calories for 1/2) with pb and banana
whole wheat english muffin with spray butter
cereal (multigrain cheerios or corn flakes are my current faves)
coffee (of course!)
2 egg whites and turkey sausage on either an english muffin or 1/2 wrap
fruit! strawberried, bananas or blueberries usually

Lunch:
Salad with low cal dressing and iether lunchmeat or grilled chicken on top
1/2 wrap with chicken or lunchmeat, 1/2 slice cheese
carrots with hummus or laughing cow wedge
pretzels
soup
goldfish

Night Snack: this is usually when I eat my sweets. Ill have a hershey candy, m&ms, a brownie/cupcake from the freezer, whatever!

My dinners vary. I make a lot of chicken and lately a decent amount of shrimp. I try to keep carbs low and am actually thinking of giving them up for Lent. Not sure if I could really do that though so maybe Ill keep it to once or twice a week.

I am down 10 pounds from my pre-pregnancy weight. My clothes are fitting loose and I've had to buy new pants and now new bathing suits (but lets face it, I have a swim suit addiction and would have bought new ones anyway!). It seems that my ass left, along with my muscle and now my bottoms dont fit me!

A and I are headed to Key West at the end of February so I have even more motivation to work hard and make good food decisions. I think the week or week and a half before we go we will be pretty strict so that we can then indulge on our vacation. But the above is just a lifestyle and no longer a diet for me.

Have you guys found it easy to be good during the winter or are you stil leating lots of comfort food with the cold weather still here? I always find it easier to eat healthy in the winter and harder in the summer when all I want is beer, burgers and to go out and sit on a restaurant patio!

Friday, January 25, 2013

8 Months!


Happy 8 Months to my sweet baby girl, Remy! I can't believe that she is so old!


Thursday, January 24, 2013

No Mess Party S'mores


I loooove smores! I always have marshmallows in the house, and I make them in the microwave. The problem is the marshmallow puffs so much and makes a huge mess. Lets face it - mess is just a part of the s'mores eating experience, but it doesn't have to be!

With the whole invention of fluff, and now the Jet Puffed version, we can premake our s'mores and eat them without having a white, sticky face! Hooray!

I admit that I liked these best once they had hardened up. I made them in the morning and left them out for a few hours, then put them in a tupperware container and by night they were all set up. Gooey but firm - yum! I enjoyed these for the next week or so. I'm not sure why but I tend to like things like candy a little stale and on the firm side, and that carried over into my s'mores. If you want them ooey gooey then eat them a couple hours after making, once the chocolate hardens.
No Mess Party S'mores
Graham crackers
Marshamallow Fluff (or Jet Puffed Marshmallow, which is what I used)
Semi Sweet or Milk Chocolate to melt (I just used chips)
Sprinkles

Using a double boiler, place your chocolate in the top dish and melt on low heat.

Meanwhile, break your graham crackers and place fluff between 2 crackers.

Once your chocolate is smooth and melted, dip your assembled crackers in and lay on wax paper. Shake your sprinkles on and allow the chocolate to cool and harden.

Wednesday, January 23, 2013

Cranberry Mojitos


OK....so I know I am waaaay behind in my postings. The holiday/new year got the best of me and I never got around to posting, but I did take plenty of photos. So here I am, sharing with you now.

Here's a cocktail that is a combo of one of my favorite drinks (mojitio!!) and a holiday staple: cranberries. Of course, you can enjoy this any time of the year, but it's perfect for a holiday party too.
Cranberry Mojito (from We Are Not Martha)
8 oz. fresh cranberries
1 C sugar
1 C water
20 mint leaves
2 T lime juice
Ice
4 oz. rum
4-6 oz. soda water

Put cranberries, sugar, and water in a medium saucepan and bring to a simmer over medium heat.

Then lower the heat a bit to medium-low and continue to cook for about 10 minutes, before your berries start bursting. Remove from heat

Once the berry mixture has cooled, you can strain them.

Put about 10 leaves of mint and a T of lime juice in each glass. With the back of a wooden spoon or a muddler mash the mint up.


Put ice in each glass and pour 2 oz. of the cranberry syrup and 2 oz. rum into each glass.

Top off each glass with soda water. And sprinkle some fresh cranberries in for garnish.

Holiday Recap

We may be in 2013, but I didn't want to forget to show you a recap of our 2012 Holiday!


Remy was showered with presents in Florida!!!


She was kind of clueless on Christmas, but it was so fun seeing her get gifts. I assume this will only get more exciting for us both as years pass and she understands things more.
 Audrey came!


We celebrated Christmas with her.


And her Birthday!


She loved playing with Rem - who doesnt?


Erin came to visit and celebrate the New Year with us!

And now we are back to normal. Next event to prep for: Remy's 1 year birthday! It's only 5 months away......